GUIDE
Wanderburg Tips: Beginner Guide to Castle Builds & Progression
Evidence-based Wanderburg tips for beginners: early game devouring priorities, physics-based mobility, starter build cores, and permanent progression strategies.
Overview
New players approaching *Wanderburg* should treat the opening minutes as a resource-gathering phase rather than a combat trial. The most reliable beginner strategy focuses on consuming peripheral settlements to fuel castle growth, steering a physics-driven chassis instead of relying on reflexes, and judging every run by permanent account progression rather than temporary in-run power. This guide breaks down the core mechanics, early build priorities, and run-evaluation frameworks that consistently stabilize new players during Early Access.
Early Game Priorities: Devour, Don't Just Fight
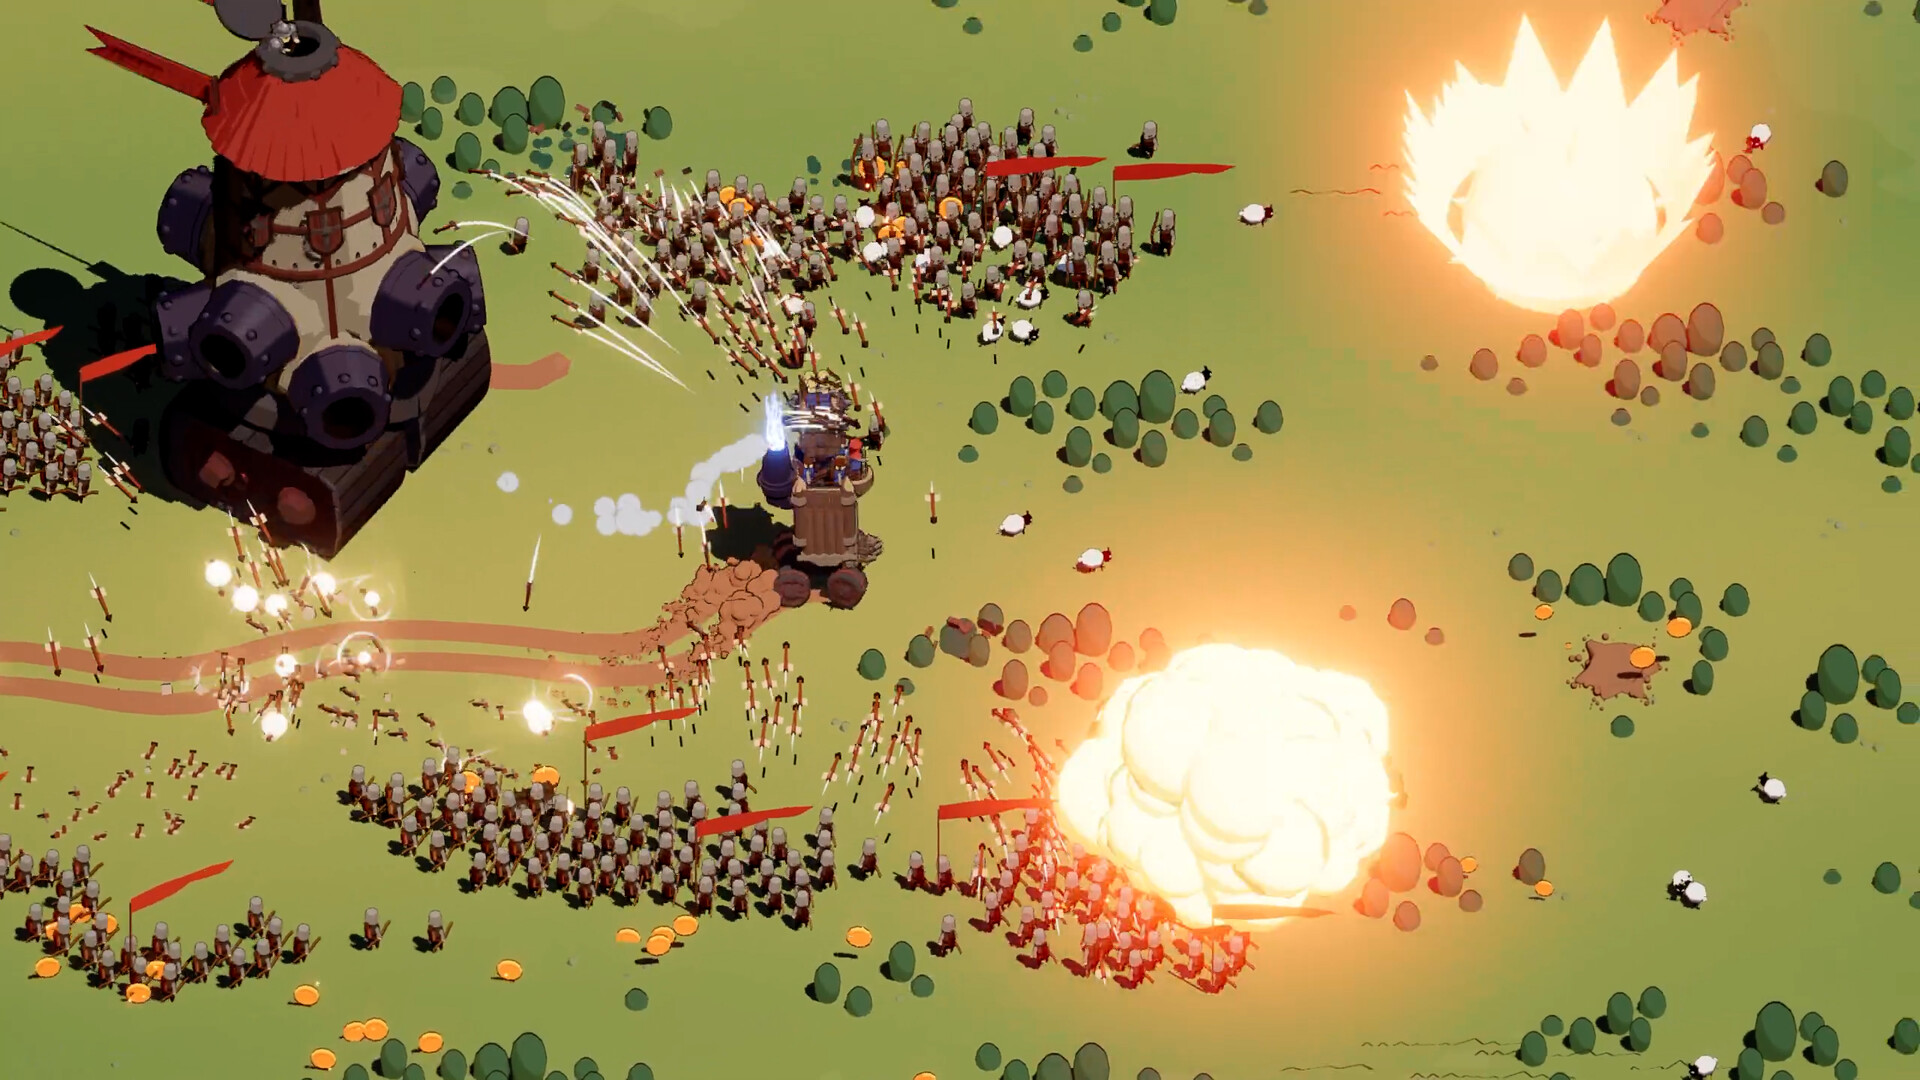
The core loop revolves around expanding your rolling fortress by consuming terrain and enemy structures. In the opening minutes, prioritize devouring over fighting. Every unit consumed feeds the growth that makes mid-game sieges possible, and early aggression often drains limited active cooldowns before your modular arsenal is functional.
Community tracking shows that devouring peripheral hamlets before engaging fortified stone keeps yields a measurable advantage: scrap yield rises roughly 35%, banking modular upgrade points before sector bosses appear. The map behavior follows a predictable pattern—villages flee and castles hunt. Chasing fleeing villages is the safest mass on the map, allowing you to stack consumables without triggering entrenched defenses. Only the biggest stronghold survives direct confrontation, so route your chassis toward retreating settlements until your damage output scales.
Mastering Castle Physics and Mobility
*Wanderburg* operates on a physics-based steering system rather than grid movement or instant directional inputs. The game rewards physics mastery over twitch reflexes—momentum and weight are combat inputs, not decoration. As your chassis expands, turning radius, collision tolerance, and boost cooldowns become the primary factors in survival.
In early sectors, prioritize wheel suspension over heavy plate armor to keep mobility. Heavy armor increases mass but compounds steering drag, making it difficult to escape enemy clusters or reposition between boss phases. Watch for three mobility pitfalls: getting cornered by multiple enemy vehicles, staying in one area too long while breaking a chest or keep, and misjudging boost cooldowns during retreats. Successful runs treat movement as a resource management system; you must calculate clearance space before committing to a target and maintain enough boost charge to exit dangerous positions.
Build Foundations and Combat Archetypes
Modular weapons dictate your damage cadence, and early runs fail when upgrades are scattered across incompatible systems. A proven starter core is Archer Tower + Side Ballista + Turret Layer. This configuration keeps damage happening from several places while the castle moves to the next safe position. Archer Tower handles forward range, Side Ballista maintains lateral pressure, and Turret Layer deploys stationary fire so you can disengage without losing output.
Players who prefer aggressive positioning can experiment with the ram-boost archetype, which the demo community highlights for its momentum-based execution. The setup chains a ram attack with a boost and a dash or teleport, ideally paired with a melee-bonus captain like Dieter the Drunk to extend the engagement window. Regardless of archetype, concentrate upgrades on one damage engine by the mid-game. Artifacts and module tiers should reinforce the primary system rather than introduce secondary damage families that compete for the same upgrade slots.
Managing Progression and Run Evaluation
Permanent progression dictates long-term success. Clear the opening Green Plains boss set first, then judge each subsequent run by whether it opened a Land, advanced a permanent unlock, or funded a starting piece. In-run power resets on failure, so account-level milestones are the actual metric of improvement.
When progress stalls, name the failed layer—map objective, permanent loadout, build strength, movement, or vehicle compatibility—before replaying the same route. Identifying whether the overworld route was too difficult, the starting chassis lacks required slots, or the damage engine lacks scaling determines what to adjust next. Silver allocation follows the same diagnostic logic: use Silver to finish a working starting loadout, push module milestones during strong runs, and enter Overtime only when the castle is already stable. Forcing overtime with an unoptimized build or mismatched vehicle typically ends runs without yielding meaningful permanent rewards.
Keep the page honest
Use the version scope, source status, and verification date above when you quote this guide. If the game UI or source changes, update the claim before expanding the recommendation.
Sources to check
Primary references
- Wanderburg Official Game Page & Early Access Overview ↗
- Wanderburg Walkthrough & Early Sector Strategy ↗
- Wanderburg Progression, Unlocks & Run Evaluation ↗
- Wanderburg Permanent Unlock Requirements ↗
- Wanderburg Best Builds & Module Cores ↗
- Wanderburg Demo Community Tier List & Build Archetypes ↗
- Wanderburg Map Behavior & Settlement Mechanics ↗
- Wanderburg Launch Coverage & Physics Combat Analysis ↗